A SmartPass is a digital visitor pass that lives in your phone's wallet. It lets you check in and check out in a few taps. You don't need to fill in your details again, and you don't need to wait at the front desk.
Step 1: Find your SmartPass email
When an organization issues you a SmartPass, you'll get an email. Your wallet buttons may also appear in your visit invitation email or your visit confirmation email.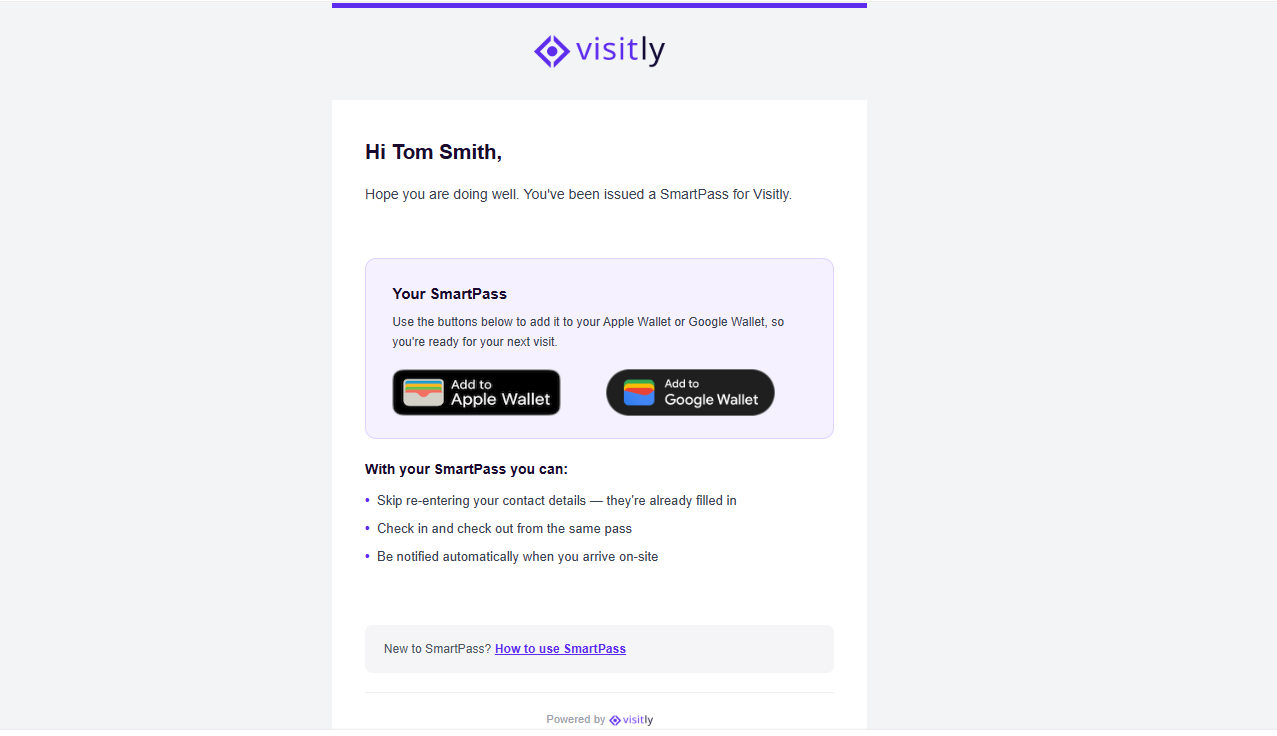
Tip: Open the email on your phone. Wallet passes can't be added from a computer.
Step 2: Add the pass to your wallet
In the email, tap the button that matches your phone:
- iPhone: tap Add to Apple Wallet.
- Android: tap Add to Google Wallet.
On iPhone: A preview of the pass opens. Tap Add in the top-right corner. The pass is now in your Wallet app, and it also shows on a paired Apple Watch.
On Android: Google Wallet opens. Tap Save. The pass is now in your Google Wallet.
You only have to do this once. Keep the same pass for every visit.
Step 3: Get to know your pass
The front of your pass shows:
- Visitor: your name
- Status: Not on site or On Site
- Pre-Reg: Pending or Completed, if your visit needs pre-registration
- Next Visit: the date and time of your upcoming visit
- Host, Location, Company and Purpose: details of your visit
- QR code: your visitor identifier
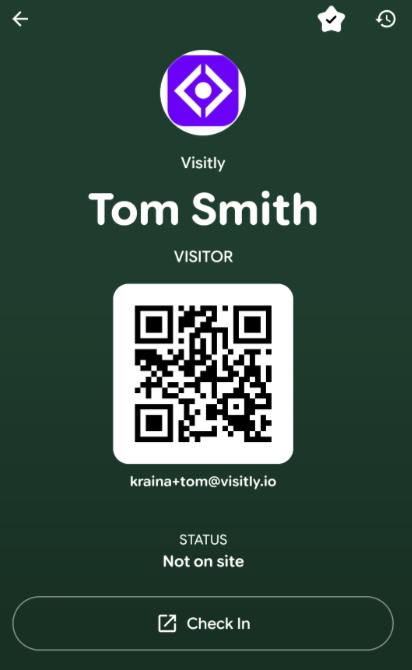
The pass updates itself when your visit is scheduled, changed or cancelled, and when you check in or out.
Do you see "Register Now"?
If your host needs more information from you before you arrive (for example, an agreement to sign or a form to fill in), your pass shows a Register Now link. Tap it and complete the steps before your visit. When you're done, the pass shows Pre-Reg: Completed.
Step 4: Arrive on site
When you get close to the building, your phone detects that you're near the location and shows your SmartPass on your lock screen with a message like:
You're near! Tap to check in.
Tap the message to open your pass.
? About location: This alert comes from your phone itself. It is not tracking by the organization or by Visitly. Your location is only shared at the moment you tap Check In or Check Out, to confirm you're on site.
No lock-screen alert? No problem. Open your pass manually (see Step 5).
Step 5: Check in
1. Open the Check In link
- iPhone: Open the Wallet app, then tap your SmartPass. Tap the ••• button (or ⓘ on older iOS versions), then Pass Details, and tap the Check In link ("To check in, visit…").
- Android: Open Google Wallet, then tap your SmartPass. Tap Check In.
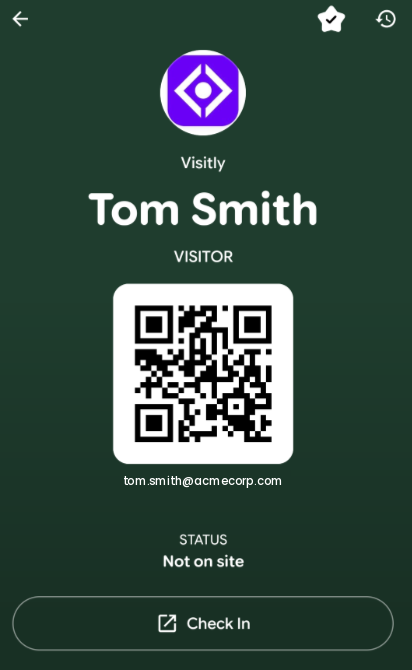
2. Allow location access
Your browser opens the Visitly check-in page and asks to use your location. Tap Allow. This confirms you're inside the check-in area for the building.
3. Follow the short check-in steps
Your details are already filled in. Review and continue:
- Privacy Policy: read and accept it, if the organization requires one.
- Your name: confirm it's correct.
- Visitor details: check your email, company and phone, and answer any questions your host has added.
- Confirm: submit your check-in.
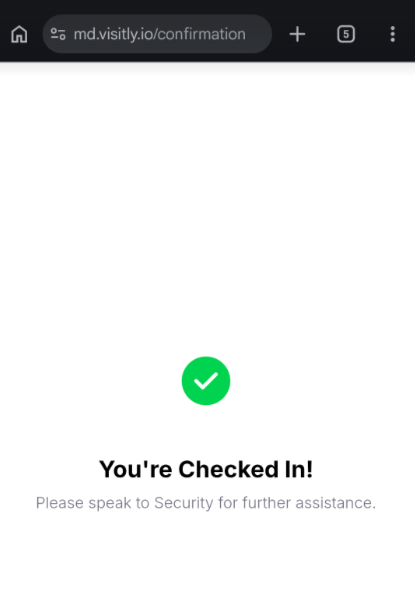
4. You're checked in!
Within a few seconds your pass changes to:
- Status: On Site
- The Check In link becomes Check Out
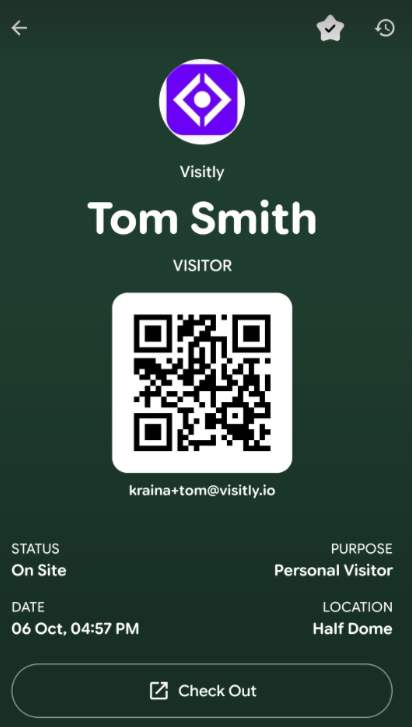
Your host may be notified that you've arrived, depending on the organization's settings.
Step 6: Check out when you leave
When you're ready to go, your lock screen may show:
Ready to leave? Tap to check out.
1. Open the Check Out link
Open your pass the same way as in Step 5 and tap Check Out.
2. Allow location access
You need to be on site to check out, so check out before you leave the area.
3. Confirm and sign out
You'll see a Goodbye screen with the organization, the location and your check-in time.
- Tap Sign out.
- If the organization has exit questions, answer them and tap Confirm sign-out.
4. You're all signed out
You'll see your visit duration, and your pass goes back to Status: Not on site, ready for your next visit.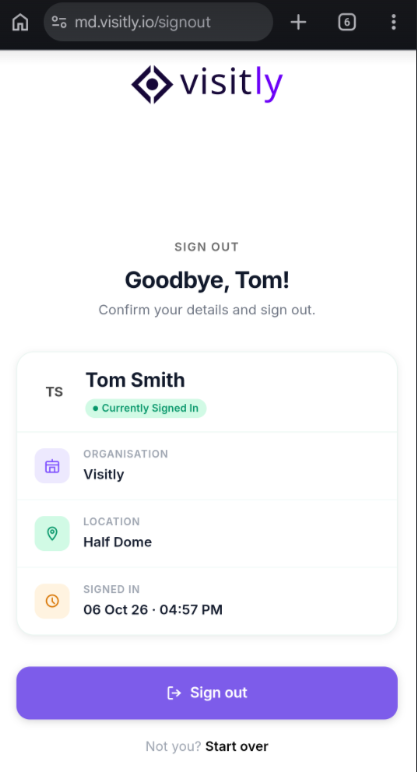
Coming back? Use the same pass
Your SmartPass works for every visit to that organization. Each time, the flow is the same: arrive → Check In → Check Out.
Troubleshooting
"You are outside the check-in area. Please move closer to the building and try again."
Walk closer to the building entrance and tap Retry.
"Location permission is required for SmartPass check-in…"
Allow location for your browser, then tap Retry.
iPhone: Settings → Privacy & Security → Location Services → Safari Websites
Android: Settings → Location, and allow it for Chrome
"Unable to determine your location…"
Turn on Location Services and make sure you have a signal, then tap Retry.
"SmartPass check-in requires location access. Please open this link on your mobile device."
You opened the link on a computer. Use your phone instead.
"You must be on-site to check out."
Go back inside the check-in area and try again.
"This pass has been revoked or expired."
Your pass is no longer active. Contact your host if you need a new one.
"This SmartPass is not valid right now…"
Your visit dates may have changed. Check with your host.
"Check-in is not available at this location right now…"
Check in at the front desk or contact your host.
My pass didn't update after checking in.
Wait a few seconds, or pull down to refresh the pass in your wallet. Your check-in still counts.
I got a new phone.
Open your original SmartPass email on the new phone and tap the wallet button again.
Frequently asked questions
Do I need to download an app?
No. SmartPass works with the Apple Wallet or Google Wallet app already on your phone, plus your browser.
Does SmartPass track my location all the time?
No. Your phone recognizes when you're near the building so it can show your pass. Your location is only shared at the moment you check in or out.
Can I check in from home?
No. You must be inside the building's check-in area to check in or check out.
Can I use my pass at more than one location?
Yes, if the organization has enabled it for several of its sites. Your phone shows the pass when you're near any of them.
Need help? Contact the Visitly support team at support@visitly.io
Was this article helpful?
That’s Great!
Thank you for your feedback
Sorry! We couldn't be helpful
Thank you for your feedback
Feedback sent
We appreciate your effort and will try to fix the article