Contactless Sign-In lets your visitors check in using their own mobile device by scanning a QR code displayed on your iPad kiosk — no physical contact with shared hardware required. This guide covers how to enable the feature for a location, how visitors check in on arrival, and how pre-invited visitors can use their invitation to sign in faster.
How It Works
Visitors scan a QR code on your iPad kiosk using their phone's camera.
They are redirected to a secure, browser-based check-in page on their own device.
They complete the check-in flow — details, agreements, and photo capture — without touching the kiosk.
Upon completion, the host receives an automatic arrival notification.
For pre-invited visitors, pre-filled details are pulled from the invitation, reducing check-in time to seconds.
Enabling Contactless Sign-In
Step 1: Open Location Settings
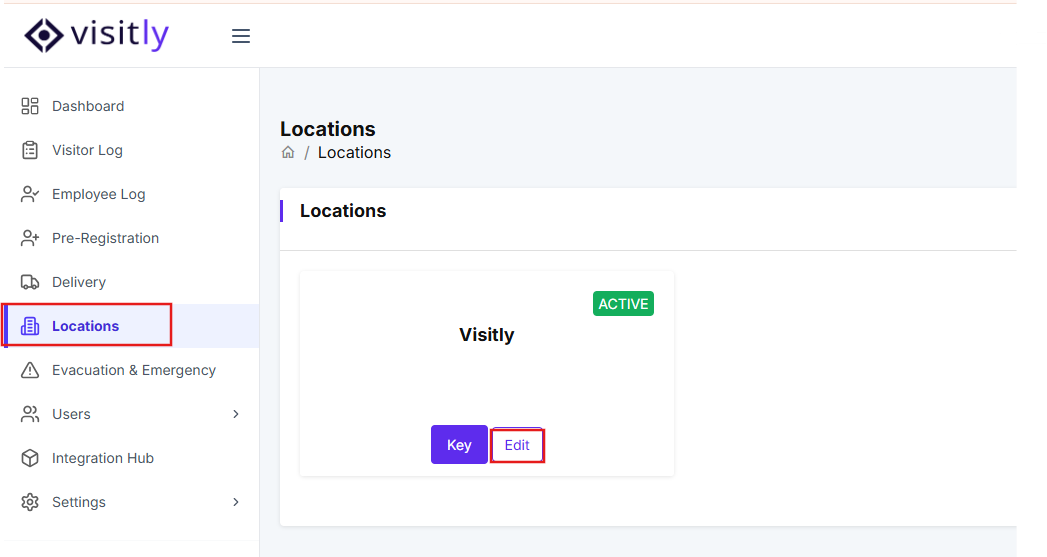
- Log in to your Admin Dashboard.
- Click Locations in the left-hand navigation panel.
- Select the location where you want to enable Contactless Sign-In.
- Click Edit, then navigate to General Settings.
Visitly opens the General Settings panel for that location.
Step 2: Enable Contactless Sign-In
- In the right-hand panel under General Settings, toggle on Contactless Sign-In.
- Click Save to apply your changes.
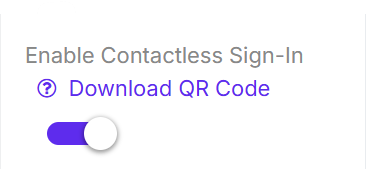
A QR code now appears automatically on your iPad kiosk. Visitors can scan it immediately to begin their check-in.
Step 3: Download the QR Code (Optional)
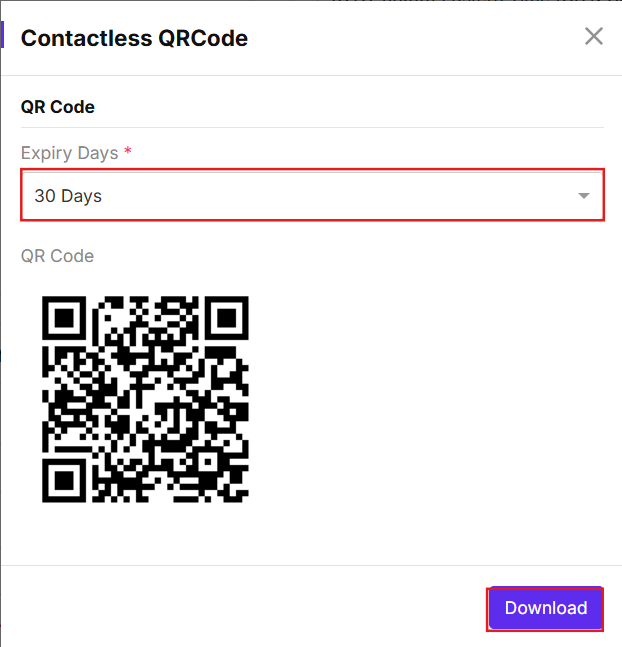
If you don't have an iPad kiosk available at a location, you can download the QR code and display it another way — printed at a reception desk, shown on a screen, or posted at an entrance.
- In the same General Settings panel, click Download QR Code.
- Use the Expiry Days dropdown to set how long the code remains valid. Available options: 7 Days, 15 Days, 30 Days, 60 Days, 180 Days, or 365 Days.
- Download the QR code and display it at your location for visitors to scan.
Tip: Choose an expiry period that matches how long you need the code to remain active. Shorter periods are more secure for temporary or event-based setups.
Managing multiple locations? Repeat Steps 1–3 for each location where you want to enable Contactless Sign-In.
Visitor Check-In Flows
Walk Ins
Use this flow when a visitor arrives without a pre-arrival invitation.
- Open your phone's camera or a QR code scanner.
- Scan the QR code displayed on the iPad kiosk.
- You'll be redirected to a secure check-in page in your browser.
- Fill in your details as prompted — name, email, visitor type, and purpose of visit.
- If required, review and sign the NDA or any agreement presented on screen.
- Take a photo of yourself if the host has enabled photo capture.
- Click on check-in.
Your check-in is complete. The host will be notified of your arrival automatically.
Check-In With a Pre-Arrival Invitation
Pre-invited visitors can check in using their invitation email for a faster experience. There are two paths depending on whether pre-arrival details were submitted in advance.
Method 1: Pre-Arrival Details Already Submitted
Use this path when you completed your details before arriving.
- Open your invitation email and tap Contactless Sign-In.
- Tap Enable Camera and scan the QR code on the iPad kiosk.
- Your pre-filled details will appear on screen. Confirm they are correct.
- Click on check-in.
Your check-in is complete. The host will be notified of your arrival automatically.
Method 2: Pre-Arrival Details Not Yet Submitted
Use this path when you haven't filled in your details ahead of time.
- Open your invitation email and tap Contactless Sign-In.
- Tap Enable Camera and scan the QR code on the iPad kiosk.
- You'll be redirected to a secure check-in page in your browser.
- Check your details such as name, email, visitor type, and purpose of visit. Confirm they are correct.
- If required, review and sign the NDA or any agreement presented on screen.
- Take a photo of yourself if the host has enabled photo capture.
- Click on check-in.
Your check-in is complete. The host will be notified of your arrival automatically.
Troubleshooting
- The QR code is not appearing on the iPad kiosk.
Confirm that Contactless Sign-In is toggled on and that you clicked Save in General Settings. If the toggle is on but the QR code still doesn't appear, restart the Visitly app on the iPad and check that the device has an active internet connection.
- The visitor's phone camera won't scan the QR code.
Ensure the iPad screen brightness is set to a high level and there is no glare on the display. The visitor should hold their phone steady 6–10 inches from the screen. If the built-in camera app doesn't work, advise the visitor to use a dedicated QR code scanner app.
- The visitor was redirected to the check-in page but can't submit their details.
Ask the visitor to check their mobile internet connection. The check-in page requires an active data or Wi-Fi connection on their device. Advise them to try refreshing the page.
- A pre-invited visitor's details are not pre-filling on the check-in page.
Confirm the visitor opened the correct invitation email and tapped the Contactless Sign-In button. If details still don't appear, the visit record may not have been saved correctly — check the visit in your Admin Dashboard and verify the visitor's email address matches the invitation.
- The downloaded QR code is not working.
Check that the QR code has not passed its expiry date. If it has expired, return to General Settings, click Download QR Code, select a new expiry period, and resend the updated code to your visitor.
Was this article helpful?
That’s Great!
Thank you for your feedback
Sorry! We couldn't be helpful
Thank you for your feedback
Feedback sent
We appreciate your effort and will try to fix the article