Visitly recognizes returning visitors automatically and lets them check in with a single tap, skipping the full check in flow when their details are valid.
How It Works:
- Visitly identifies a returning visitor through facial recognition or an email/phone lookup, then checks their visitor type, signed documents, and required videos in the background.
- If everything is still valid and nothing has changed since the visitor's last visit, It shows a confirmation card instead of the full check-in flow.
- If one detail has changed, It asks the visitor to update only that detail — not the entire flow.
- A privacy policy consent step appears based on the location configuration , regardless of how the visitor is identified.
Check In as Returning Visitor:
Step 1: Start Check-In on the Kiosk
On the kiosk home screen, tap the Sign-in button.
Step 2: Verify the Identity
With facial recognition:
Visitors are asked for facial recognition, when it is enabled for identity verification. To enable facial recognition, read this help article.
- The camera opens automatically and recognizes the visitor's face.
- The visitor's record is matched, their confirmation page appears immediately — no other steps are needed.
With email or phone number:
Visitors are asked to enter their email or phone number when it is enabled for them.
- The visitor selects 'I'm a returning visitor'.
- The visitor enters the email address or phone number used on their last visit and taps Next.
Step 3: Confirm the Visit
Once identified, the visitor's confirmation card shows their name and photo, their host, and the date and time of their last visit.
- Tap Quick Check-In to complete the visit instantly using the details shown.
- Tap Review & Update details if anything about the visit has changed.
- Tap Start a New Check-In if the visitor was identified incorrectly or needs to begin a fresh check-in.
Check Out as a Returning Visitor
Signing out is just as fast as checking in — Visitly recognizes any valid QR code and handles the rest automatically.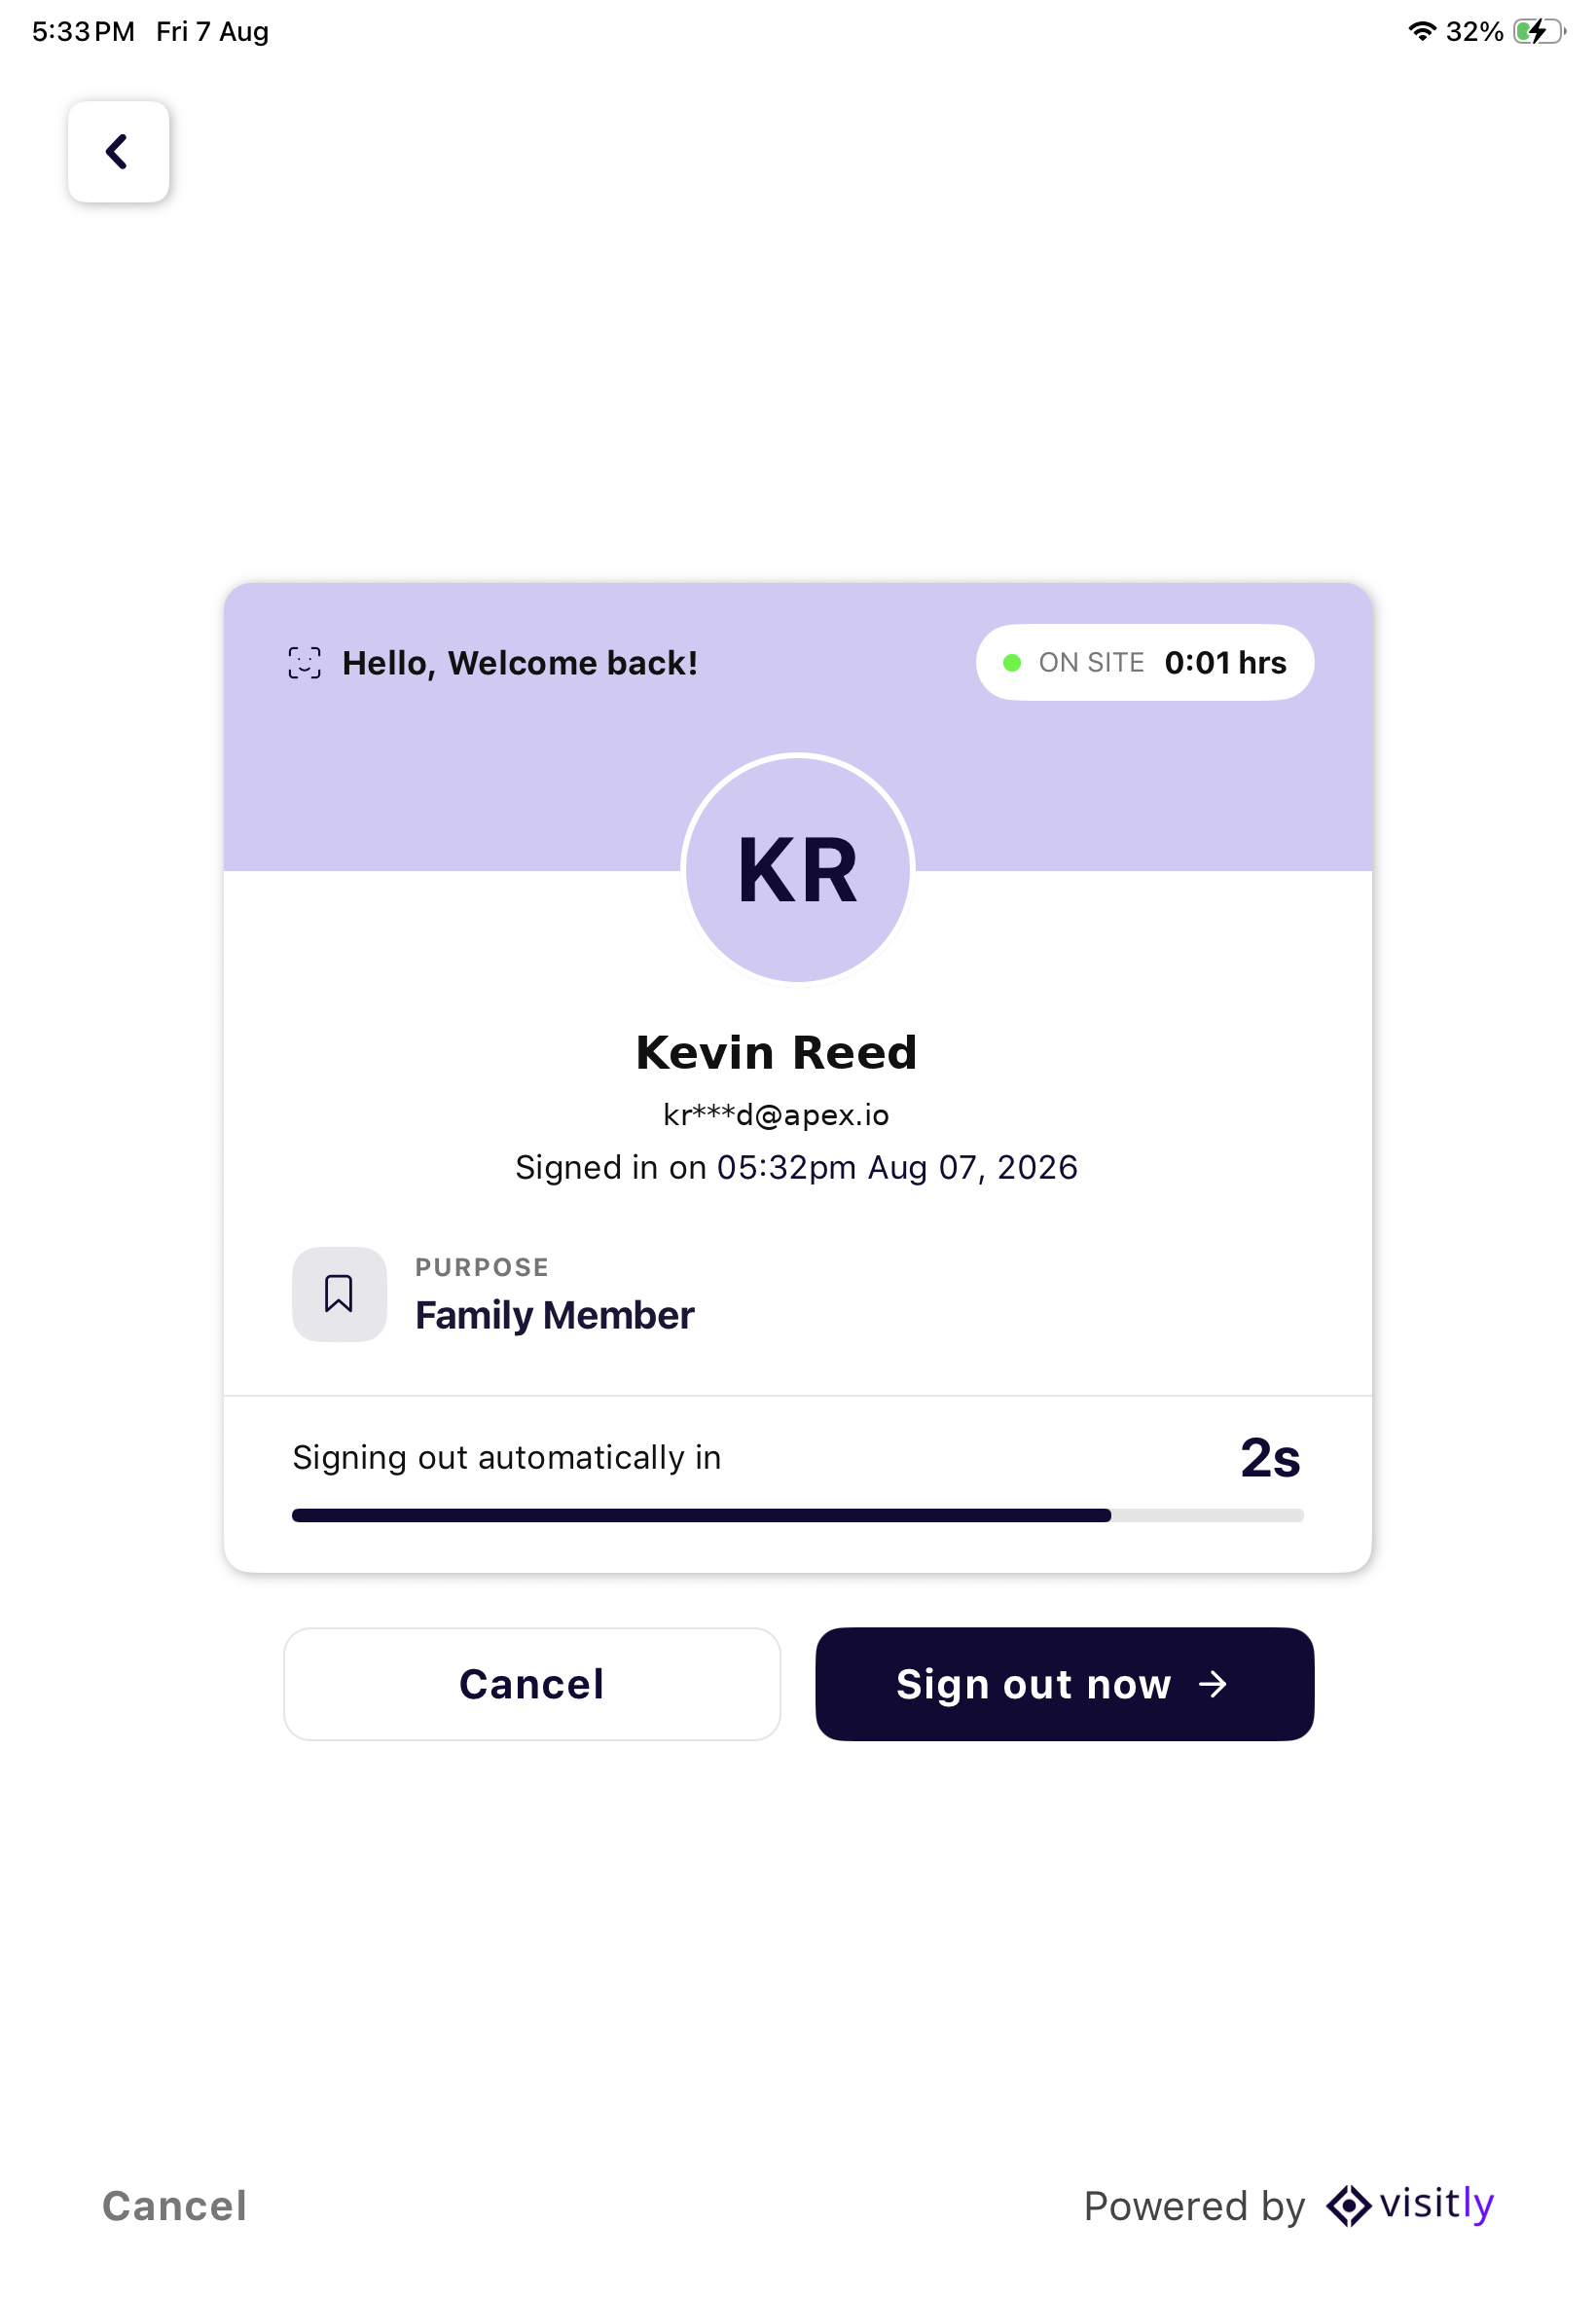
- Badge QR — the QR code printed on a visitor's badge from a previous visit
- Pre-Registration QR — the QR code included in a visitor's pre-registration invitation email
- SmartPass — the wallet-based pass added to Apple Wallet or Google Wallet, which updates automatically as a visitor moves through their visit
- Visitly Pass — a wallet-based QR pass issued after a visitor's first visit, valid for the expiration window your organization has configured
- Employee QR — used by employees to sign in and out, separate from visitor QR codes
Smart QR Scanning
- Home Screen
- Facial Recognition Screen
- Full Name Screen
- Returning Visitor Screen
- Sign-out Facial Recognition Screen
- Manual Sign-out Screen
Scan & Go Sign-Out
To sign out, simply scan any of the QR codes above — no extra taps and no manual confirmation needed. As soon as the code is recognized, Visitly signs the visitor or employee out automatically.
When You'll See the Full Check-In Flow Instead
Instant check-in only asks for a single updated detail — it doesn't require the full flow — when just one of the following has changed since the visitor's last visit:
- Their visitor type has changed.
- A signed document has expired or a new one is required.
- A required video has expired or a new one is required.
- A required field for their visitor type is missing.
Once the visitor updates that detail, they return to their confirmation page to finish checking in.
Troubleshooting
The kiosk camera doesn't recognize my face.
Confirm the visitor has a photo on file from a previous visit and that lighting at the kiosk is adequate. If recognition continues to fail, the visitor can select I'm a returning visitor and use email or phone lookup instead.
The email or phone number lookup can't find my last visit.
Confirm the visitor is entering the exact email address or phone number used on their previous visit. If the visitor used a different contact method last time, they'll need to check in as a first-time visitor.
The confirmation card shows the wrong name, host, or visit history.
The visitor should tap on Update the details to update their details.
Was this article helpful?
That’s Great!
Thank you for your feedback
Sorry! We couldn't be helpful
Thank you for your feedback
Feedback sent
We appreciate your effort and will try to fix the article