The Visitors tab gives you a full view of your visitor activity — who's coming up and who's already onsite. From here, you can also manage and create new visitor invitations without going anywhere else.
What You Can See
Upcoming Visitors
A list of all visitors pre-registered and scheduled to arrive today and in the future. Use this view to track who's expected, review visit details, and take action before a visitor arrives.

Checked-In Visitors
A real-time list of visitors who have checked in and are currently onsite at your location.
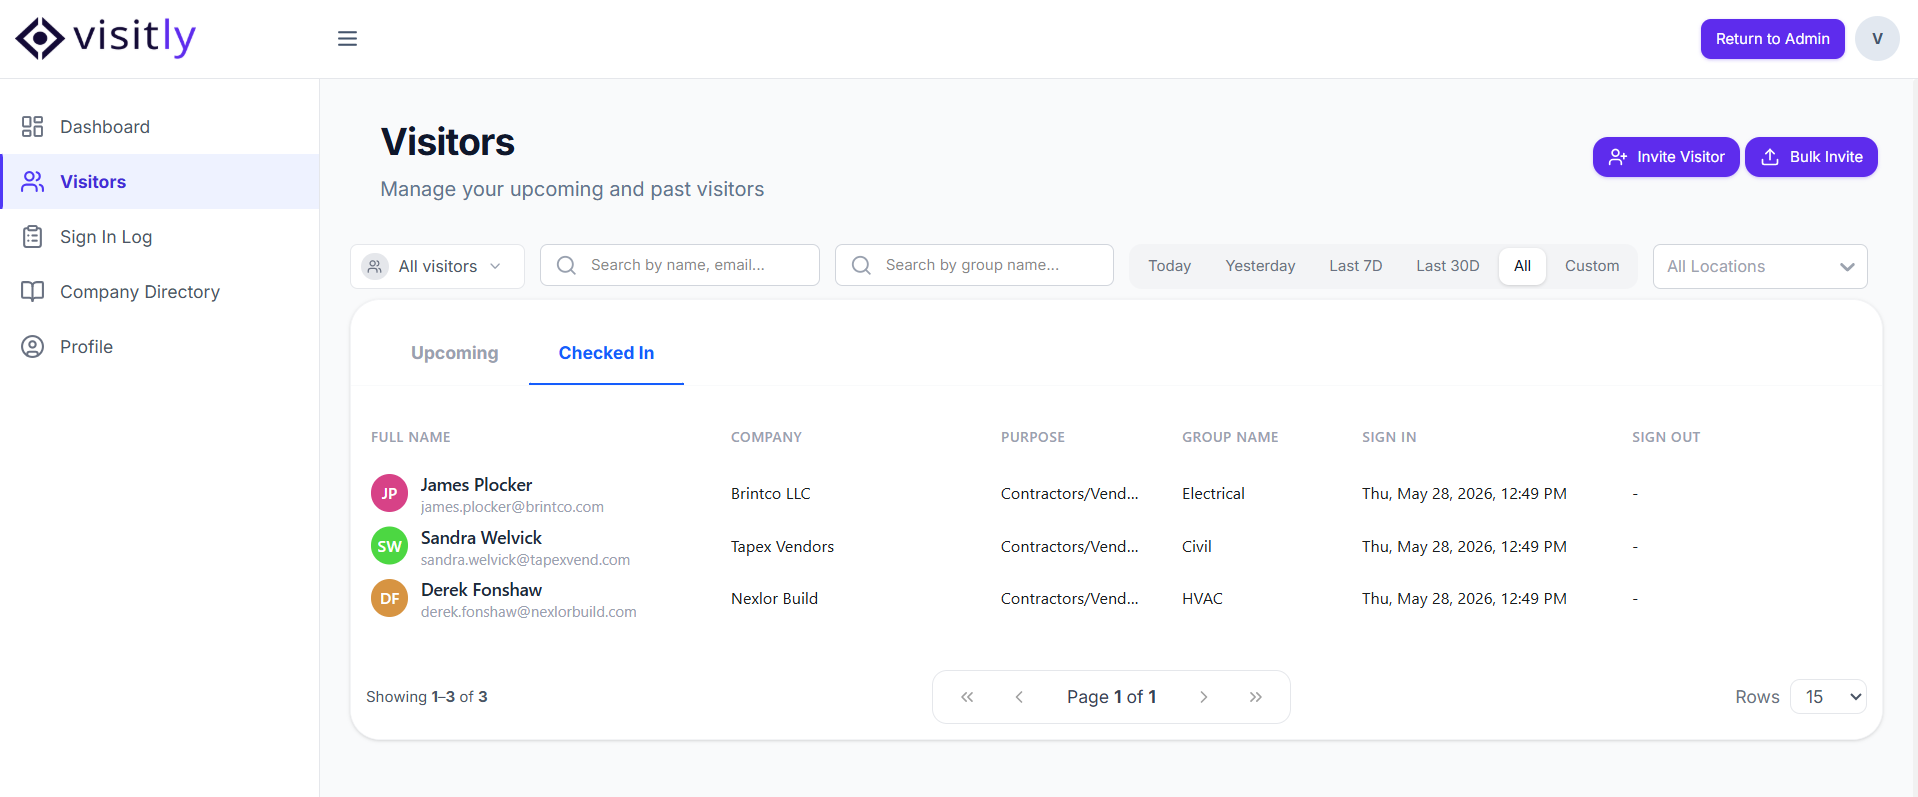
Both views share the same set of filters and search options:
Search by Visitor Name — Find a specific visitor by name.
Search by Host — Filter visits by the assigned host.
Search by Group Name — Look up visits associated with a specific group.
Location — Filter by a specific location if you're associated with more than one.
Visitor Type — Narrow down by visitor category (e.g. Guest, Contractor, Delivery).
Duration — Filter visits by a specific time range.
View toggle:
All — Shows all visitors at the location.
My Visitors — Shows only the visitors you are hosting.
View as Delegate — Shows visitors for hosts you are acting as a delegate for.
You'll also find two additional options to customize your view:- Export — Download the current list as a file for record-keeping or reporting. Exports under 2,000 records download directly; larger exports are sent to your email for download. Files are named with the export date for easy reference.
Column Settings — Choose which columns are visible in the list to focus on the information that matters most to you.
Was this article helpful?
That’s Great!
Thank you for your feedback
Sorry! We couldn't be helpful
Thank you for your feedback
Feedback sent
We appreciate your effort and will try to fix the article